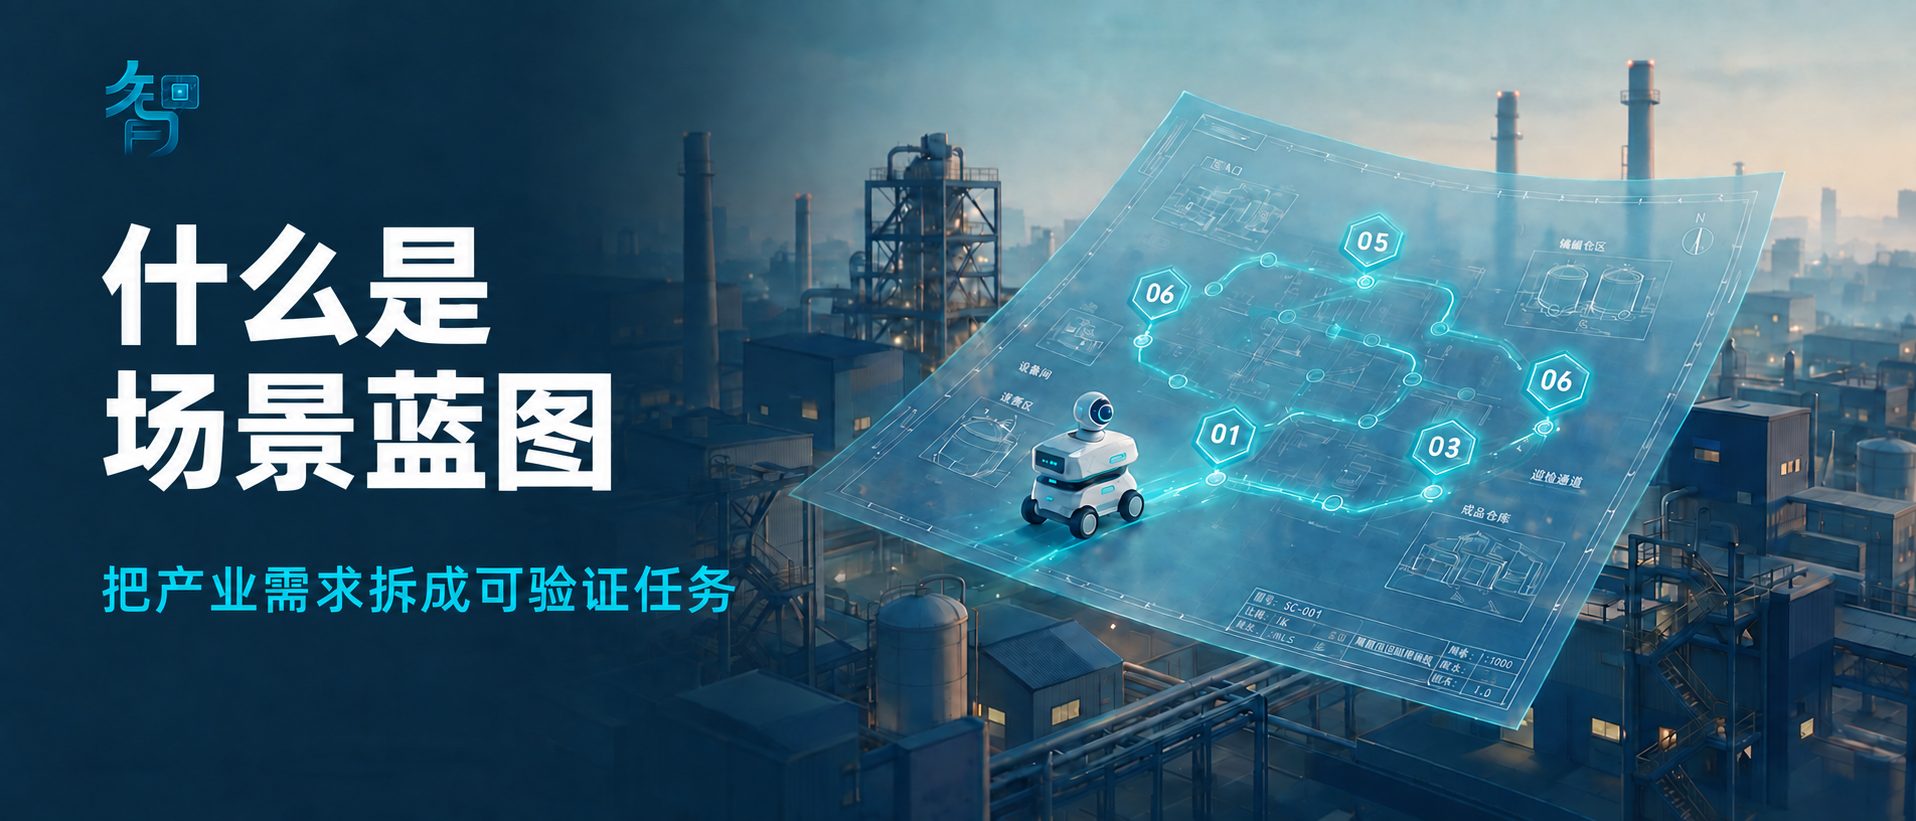
"This factory would suit robot inspection." "This route could try low-altitude transport." With a direction, the next step is to state the task, site conditions and validation method clearly.
Whether robots enter a factory or flight equipment takes on transport, the solution must answer: what work is done where, what problems the current method has, which capabilities are needed, how results are verified, and who is responsible for subsequent operation.
A scenario blueprint is a structured statement of the site conditions, capability mix, validation method and division of responsibilities around one task.
It turns a direction into questions that all participants can discuss together and verify one by one.
01 One blueprint, six questions first
- Task: who does what work, at which position, and at what frequency?
- Baseline: how is the work done now, and what records exist on time, quality, cost or risk problems?
- Operating conditions: what do the route, space, environment, communications and work requirements allow?
- Capabilities: which equipment, software and personnel are needed, and is there a simpler alternative?
- Validation: what is tested first, how is it recorded, who confirms it, and under what conditions is it paused?
- Responsibilities: who provides the site, who supports the equipment, who operates and maintains, and who accepts?
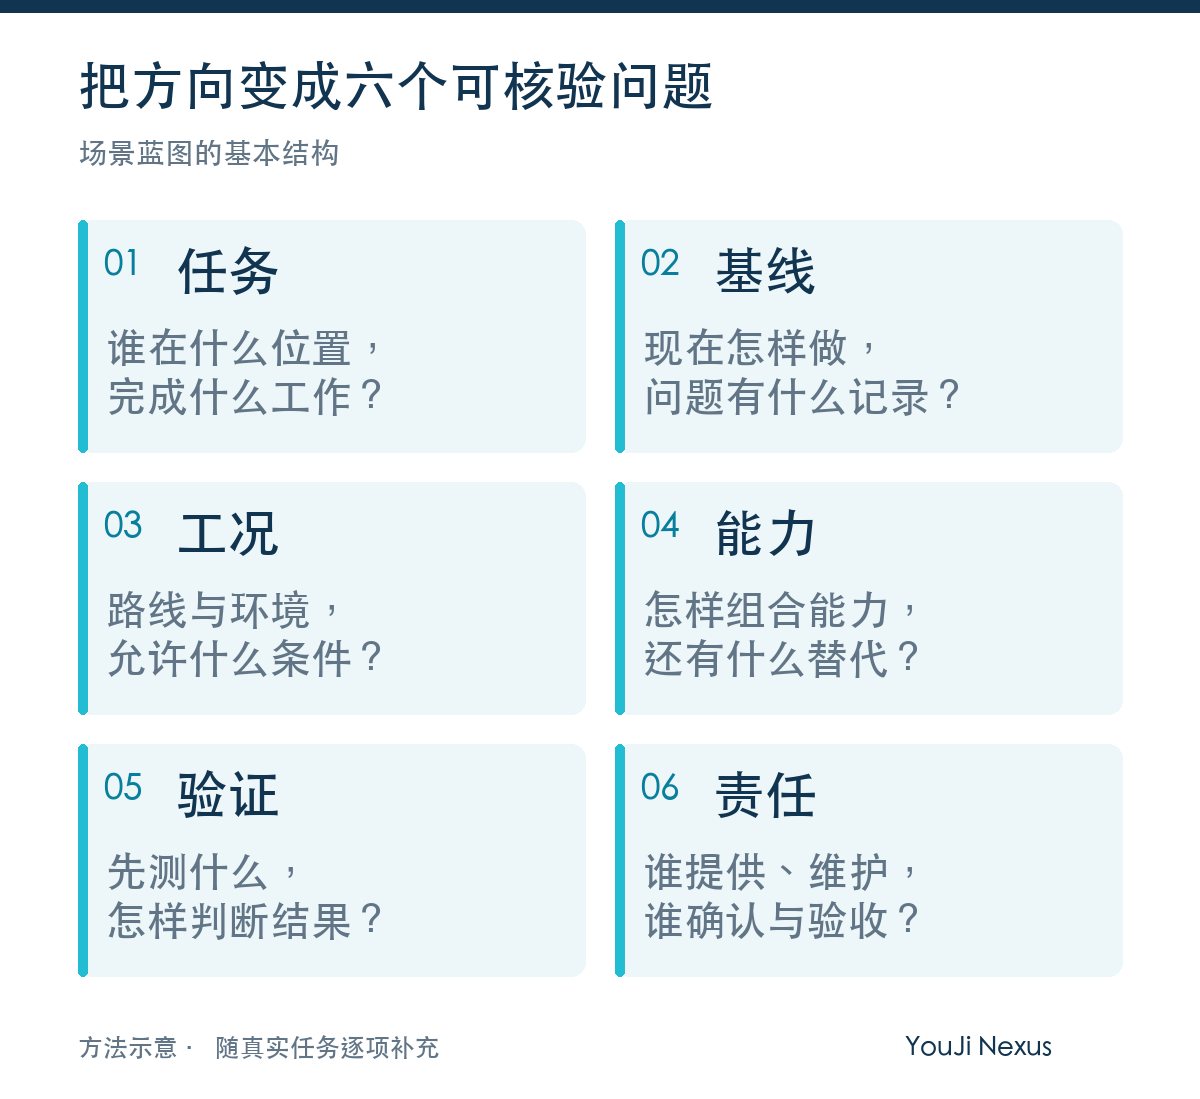
Clarify the task, conditions and criteria first; discuss specific solutions after.
02 One inspection route, method made concrete
The following uses an ordinary-equipment corridor inspection to demonstrate how a blueprint breaks a direction down. It is a hypothetical example and does not correspond to an actual project; the task scope excludes hazardous areas, emergency response and automated response. Suppose a facility says: "We hope robots can improve inspection efficiency."
Step 1: Rewrite the wish as a task
It can be rewritten as:
Record: within the agreed time windows, capture visible-light images at 10 designated checkpoints along a route confirmed by the site lead; log the checkpoint, the time and the capture status for each point, and hand cases that need further judgment to on-site staff for review.
The "10 checkpoints" are an example scope only. This task does not yet include repair, equipment control or automated response.
Step 2: Record how it is done today
First record how long the current manual method takes for the same task, which checkpoints tend to be missed, how images and records are kept, and who receives findings for follow-up.
Without a like-for-like baseline, it is hard to tell whether a new solution improves the work.
Saving one walk does not necessarily mean saving one real expense.
Step 3: Check the site, then compare solutions
Confirm corridor width, slopes, lighting, occlusion, pedestrian traffic, communications and open areas.
Then compare three paths: improving manual tools and recording processes; setting fixed capture points; using a mobile inspection platform. The three can be combined where necessary.
If fixed points already cover the task, further justification is needed for adding a mobile platform.
Step 4: Connect capabilities into a workflow
Moving to the designated position and capturing images is only part of the work. Whether the records can be used, whether someone receives the findings, and whether there is a follow-up result also need to be designed in.
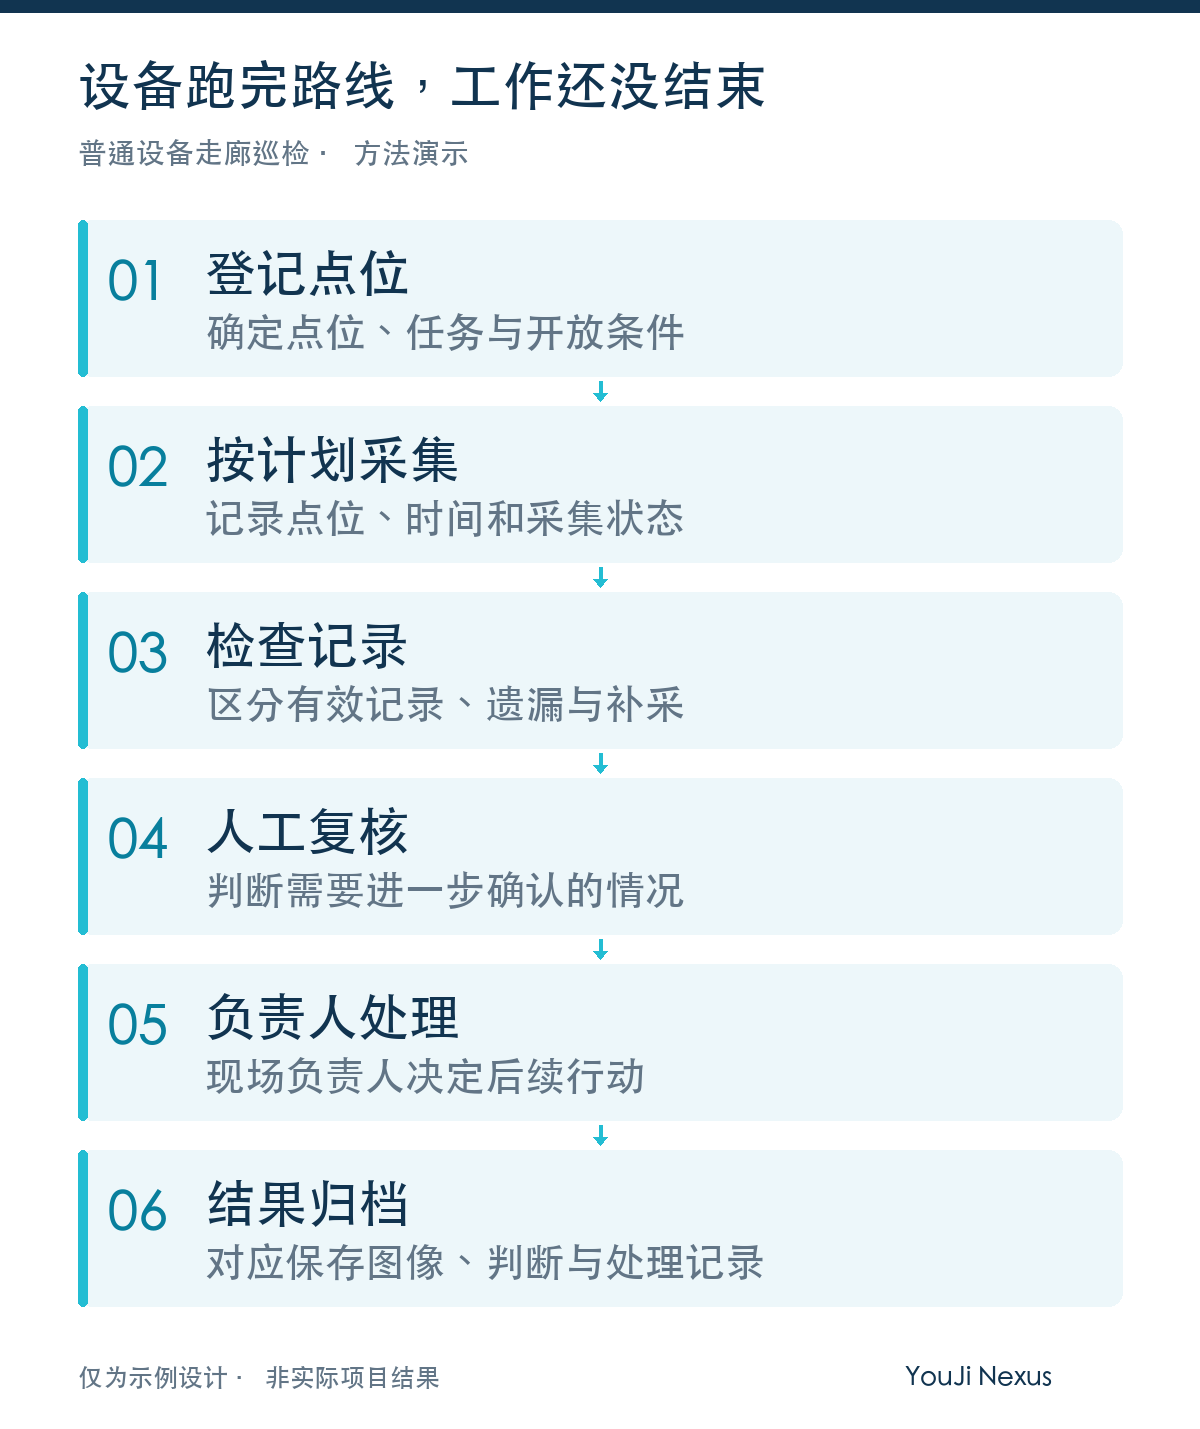
Step 5: Agree on a small-scale PoC
A PoC (proof of concept) uses a limited-scope test to judge whether the solution can complete the task under agreed conditions.
For this example, limit the PoC to one route, 10 checkpoints and the agreed time windows. If 6 capture rounds are scheduled, the plan should yield 60 checkpoint records. Valid records, missed points and manual re-captures are counted separately; these figures describe the test design, not actual results.
Before acceptance, at least five records should be agreed:
- Valid-capture rate: valid checkpoint records ÷ planned checkpoint records; state in advance the requirements for image clarity, checkpoint correspondence and time information.
- Route completion: record full completion, manual takeover and non-completion separately; define first what counts as one complete run.
- Review workload: log review time, repeated judgments and re-capture counts; when comparing with the current method, keep the task scope identical.
- Traceability: checkpoints, times, images and handling records can be matched to each other; storage locations and who can access them are explicit.
- Maintenance and recovery: log faults, recovery time and required personnel; state who responds and who provides spare parts and on-site support.
Specific thresholds are agreed by all parties together with the baseline. Validation budgets should also cover equipment, integration, on-site support, staffing and maintenance, with the budget range and cost responsibilities clarified before starting. One smooth demonstration does not prove long-term stable operation.
Step 6: Write down responsibilities and pause conditions
The scenario side confirms the route, working conditions and the acceptance owner; the solution side states capability boundaries and technical support; the local service side confirms installation, training and maintenance arrangements.
When route conditions change, data cannot be reviewed, or responsibilities are not yet in place, resolve the issues before continuing. Work beyond the agreement requires re-confirming scope, cost and schedule. YouJi Nexus's coordination role in a specific project is subject to the parties' agreement.
03 The same questions apply to low-altitude transport
Swap the inspection task for a transport task, and the blueprint still needs to answer the same six questions — only the site conditions and evaluation methods differ.
The task must state what is carried, the payload, frequency and time requirements; the baseline must record the time, cost and limits of the current transport method; the operating conditions must check takeoff/landing sites, route environment, weather, communications and operations conditions.
When comparing capability mixes, also consider existing land and water alternatives; when designing validation, record task completion, exception handling and operating costs; when agreeing responsibilities, clarify the division of operations, maintenance, cargo handover and exception response.
These questions help the parties judge what materials to supplement and which conditions must be confirmed first. Specific routes and operating arrangements should be determined by capable participants after on-site verification.
04 How does a blueprint become a case?
A reference blueprint helps raise questions. After the demand is confirmed, add the actual conditions; after validation is carried out, record the process and results; only after implementation and acceptance are completed is there a basis to summarize a delivery case.
The path in between is: reference blueprint → demand verification → small-scale validation → implementation & acceptance → case review.
When reading, check the material type, source, update time and current stage first. Copying to another site requires re-comparing operating conditions, personnel and O&M conditions, and stating which conditions the original conclusions apply to.
Let the blueprint point to an actionable next step
A useful blueprint should tell the reader whether the next step needs a route document, a demand confirmation, a capability evidence item, or a round of testing against agreed criteria.
Read blueprints with a task in mind, and start exchanges with the questions to be verified.
View the YouJi Nexus scenario blueprints: https://app.youjinexus.com/scenarios/blueprint/ (the "Blueprints & Cases" page)
With an on-site problem, you can submit a scenario need through the platform as the starting point for further discussion.